Progression and Engineering Guide
SAND Raiders of Sophie Tech Tree Guide: Unlocks, Upgrades & Priority Order
Master the tech tree in SAND: Raiders of Sophie. Discover which engineering branches to unlock first, the exact items needed for each tier, and how to optimize your Trampler without wasting precious desert salvage.
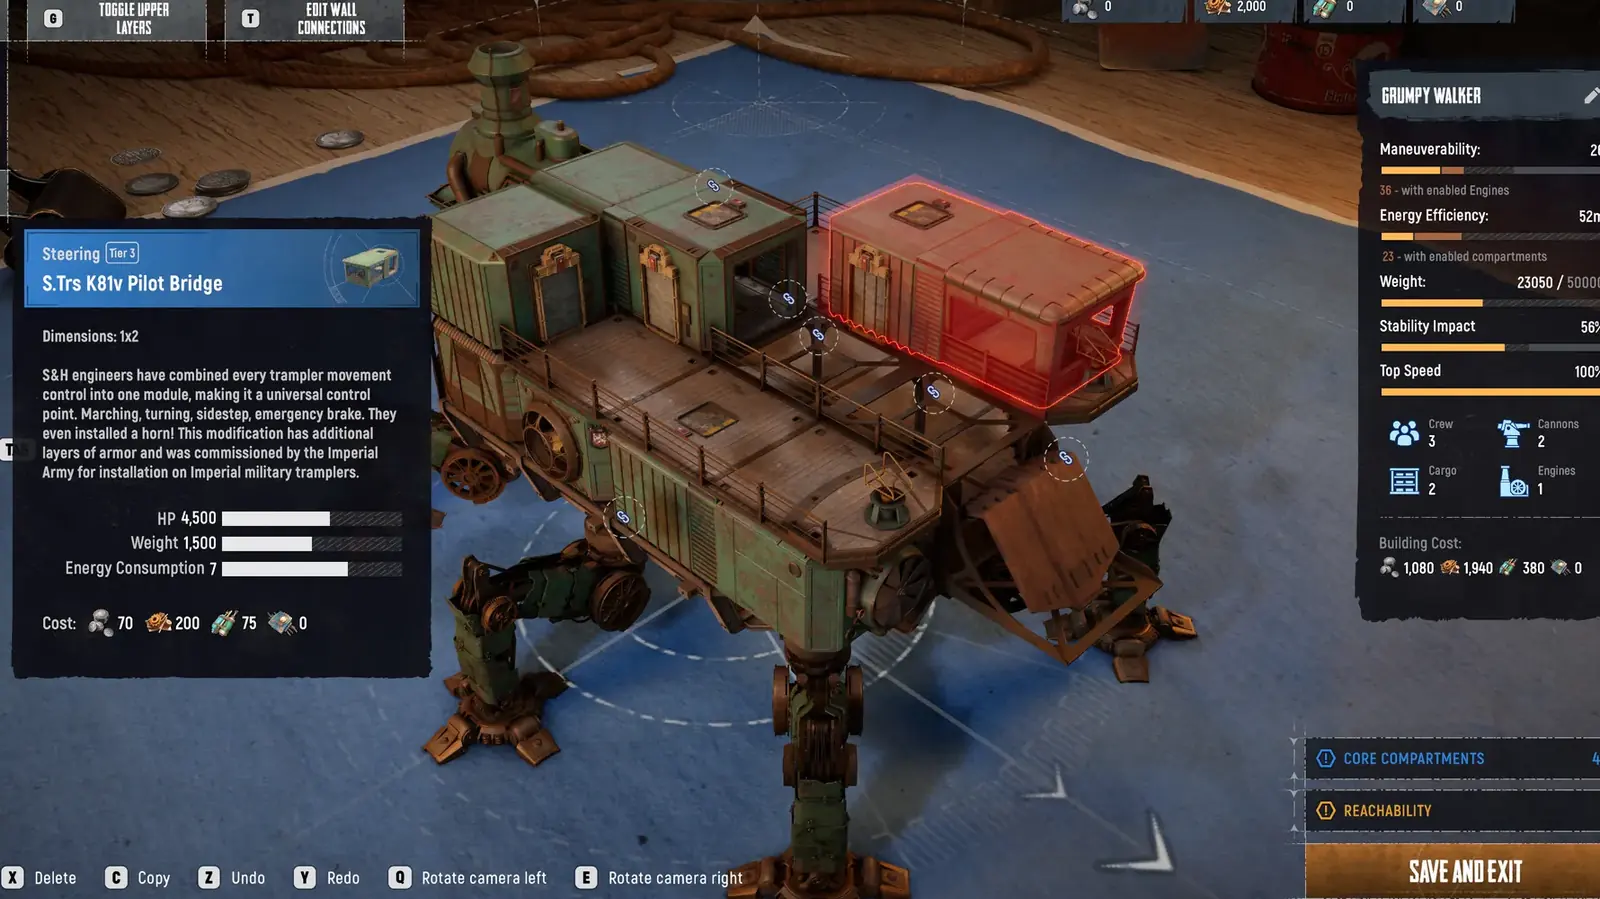
Quick progression answer: Prioritize Mobility and Power Core nodes in Tier 1 before investing in heavy kinetic weaponry or extended hulls. High-tier weapon mounts are useless without sufficient reactor output to fire them and engine horsepower to outrun ambushes across the dunes of Sophie.
How the Tech Tree Works in SAND: Raiders of Sophie
In SAND: Raiders of Sophie, progression is fundamentally tied to the technology tree inside your base hangar and workshop. Unlike traditional extraction shooters where character levels or passive skill points grant artificial advantages, SAND ties your capabilities directly to what machinery, chassis expansions, propulsion units, and armaments you can build and sustain.
Every expedition onto the dried seabed yields valuable components, raw ores, and high-value artifacts. Depositing these materials into your engineering archives unlocks technological branches that expand your Trampler customization options. However, researching high-end nodes prematurely without establishing your baseline logistics will leave you resource-starved and vulnerable to roaming hostile crews.
The tech tree is structured across distinct progression tiers. Lower tiers emphasize basic survival, mechanical reliability, fuel efficiency, and vital repair modules. Higher tiers introduce heavy kinetic artillery, armored plating arrays, advanced automated turrets, and high-efficiency combustion generators.
Tech Tree Progression Tiers and Unlock Stages
Understanding each research tier allows crews to plan expeditions around specific industrial scrap and refinery drops rather than hoarding generic junk.
| Tier | Strategic Focus | Key Research Unlocks | Primary Resource Demands |
|---|---|---|---|
| Tier 1: Scavenger Baseline | Basic Trampler operation, hull stabilization, and field survival. | Standard Cockpit, Basic Internal Cargo Racks, Light Machine Gun Mount, Field Repair Bench | Scrap Iron, Copper Wire, Low-grade Fuel, Treated Wood Planks |
| Tier 2: Frontier Expansion | Chassis extension, energy distribution, and sustained extraction runs. | Reinforced Chassis Hub, Medium Steam Reactor, 20mm Autocannon Hardpoint, External Water Collector | Hardened Steel Plates, Brass Fittings, Electrical Relays, Refined Fuel |
| Tier 3: Heavy Warfare | Long-distance durability, heavy armament, and multi-crew coordination. | Heavy Armor Slabs, High-Pressure Boiler, 75mm Howitzer Cannon, Internal Medical Bay | Alloy Steel, Titanium Ingots, Industrial Capacitors, Enriched Energy Cores |
| Tier 4: Dreadnought Mastery | Autonomous defense, massive footprint, and apex predator dominance. | Automated Point-Defense Flak, Supercharged Turbine, Heavy Dreadnought Hull Extensions | Superconducting Wire, Rare Earth Catalysts, Military Electronic Arrays, Sophie Core Remnants |
Top Priority Unlocks: What to Research First
Spending your early raid rewards randomly across all available branches will handicap your progression. Specialized combat modules are useless if your machine lacks the engine power to climb sand ridges or the cargo capacity to haul back enough ore to repair combat damage.
Follow this tested three-stage unlock priority to guarantee that every tech point invested directly enhances your raid survival and profit margins.
1. Steam Boiler & Generator Efficiency
Power is the lifeblood of every Trampler. Upgraded boilers provide the steam pressure required to run heavy weapons, internal lighting, and emergency turbo boosts simultaneously without stalling out in open sand flats.
Recommended build sequence: Research 'Dual-Piston Boiler' and 'Primary Copper Wiring' immediately upon reaching Tier 2.
2. Chassis Expansion & Weight Tolerance
Adding heavy armor plates and large caliber cannons increases overall mass exponentially. Without chassis reinforcement nodes, your top speed drops to a crawl, turning your walking fortress into an easy target for enemy sniper fire.
Recommended build sequence: Unlock 'Reinforced Leg Actuators' and 'Structural Crossbeams' before mounting heavy armor.
3. Internal Field Repair Station
Having to limp back to town after every skirmish wastes enormous amounts of fuel. In-field fabrication nodes let your crew craft structural patches, ammo boxes, and coolant barrels mid-expedition.
Recommended build sequence: Prioritize 'Workshop Module MK II' to manufacture mid-tier ammunition and patch kits inside your Trampler.
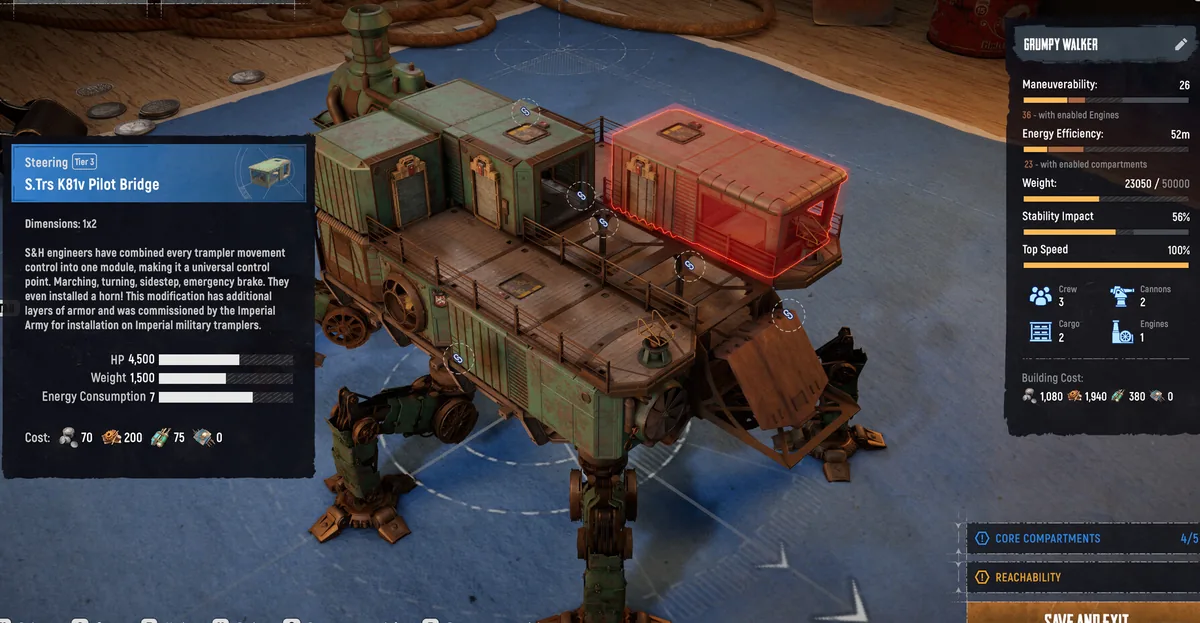
Items Needed for Tech Tree Progression & Where to Find Them
Unlocking advanced nodes requires more than simple currency; you must recover specific technological components scattered throughout hazardous points of interest on the Sophie map.
Plan your raiding routes around these designated loot zones to acquire the necessary research materials efficiently:
-
Refined Steel Plates & Structural Beams
Found primarily in industrial warehouses, railway depots, and sunken factory complexes. Crucial for Tier 2 and Tier 3 hull expansion nodes.
-
Industrial Relays & Circuit Boards
Looted from collapsed radio towers, military radar bunkers, and downed aerial dropships. Required for electrical, automated turret, and radar tracking nodes.
-
Enriched Energy Cells & Turbines
Exclusive to high-danger monument vaults and Dreadnought encounter zones. Essential for endgame Tier 4 propulsion and energy shielding branches.
-
Chemical Solvents & Catalysts
Salvaged from underground chemical refineries and contaminated water treatment basins. Needed for high-grade ammunition crafting and advanced metallurgical research.
Optimizing Tech Tree Builds for Solo vs Squad Play
Your team composition dictates which technological investments deliver the highest return on investment. A solo player cannot man four separate artillery decks, just as a four-man strike team will outgrow basic light cabins within a few runs.
Choose a specialized tech path based on how you navigate the hostile PvPvE sandbox:
Solo Raider: Stealth & Agile Scout
Focus on high-speed leg joints, reduced acoustic signature nodes, compact cockpit stations, and expanded internal cargo holds. Avoid multi-crew gunner bridges that require additional personnel to operate.
Recommended tech allocation: Light Frame + High-Torque Pistons + Single Automated 20mm Cannon + Concealed Storage
Duo Crew: Balanced Skirmisher
Combine pilot-controlled light cannons with an elevated secondary gunner station. Invest heavily in medium armor distribution and dual-circuit boiler nodes to sustain prolonged mid-range engagements.
Recommended tech allocation: Medium Chassis + Dual Steam Turbines + Twin Autocannons + Rapid Repair Bench
Full Squad: Heavy Siege Platform
Unlock heavy three-deck hulls, compartmentalized bulkheads, dedicated anti-air flak emplacements, and massive howitzer mounts. Requires maximizing every power grid node available on the tree.
Recommended tech allocation: Heavy Dreadnought Chassis + Supercharged Reactor + Multi-Angle Turret Hardpoints + Central Medical Bay
Common Tech Tree Mistakes to Avoid
Many crews find their progress halted because they fell into common resource traps during their first dozen hours on Sophie. Steer clear of these frequent pitfalls:
- Rushing heavy weapons before upgrading reactor output, causing Trampler power shutdowns in the middle of combat.
- Neglecting weight capacity nodes, resulting in an overloaded vehicle that consumes triple the fuel and moves at a vulnerable snail's pace.
- Ignoring the Field Workshop branch and relying solely on safezone vendors for ammunition replenishments.
- Over-investing in cosmetic and structural luxury compartments while basic hull armor remains at paper-thin Tier 1 quality.
- Failing to store emergency scrap iron reserves before researching expensive non-reversible tree nodes.
Frequently Asked Questions About SAND Tech Tree
Can I respec or reset my tech tree points in SAND: Raiders of Sophie?
Currently in Early Access, tech tree unlocks are permanent progression milestones on your account or persistent hangar profile. Materials invested into unlocking nodes are permanently consumed, so prioritize structural and energy foundations carefully.
What items are most urgently needed for Tier 2 tech tree unlocks?
You will need abundant supplies of Hardened Steel Plates, Copper Wiring, and Refined Fuel. These are commonly looted from abandoned industrial facilities and fortified outposts across the central salt flats.
Does unlocking tech tree nodes increase my matchmaking rating or raid difficulty?
No. Matchmaking is primarily based on instance connectivity and server regions rather than gear score. However, piloting a heavily modified Trampler naturally attracts more attention from opportunistic rival raiders.
Should solo players bother unlocking heavy Trampler compartments?
Heavy compartments offer massive health pools, but solo players should prioritize compact, high-efficiency layouts that can be easily repaired and piloted by a single player without running through multiple decks.
Verified Sources & Community References
Our engineering and tech tree data is regularly verified against the latest Early Access builds and developer updates.