Mobile base guide
SAND Trampler Guide: Build, Controls, Combat & Karl Ludwig Entrance
A practical guide to turning a pile of modules into a mobile base your crew can enter, drive, repair, defend and bring home. The goal is not a perfect blueprint; it is a Trampler that keeps working when the route, cargo and fight stop going to plan.
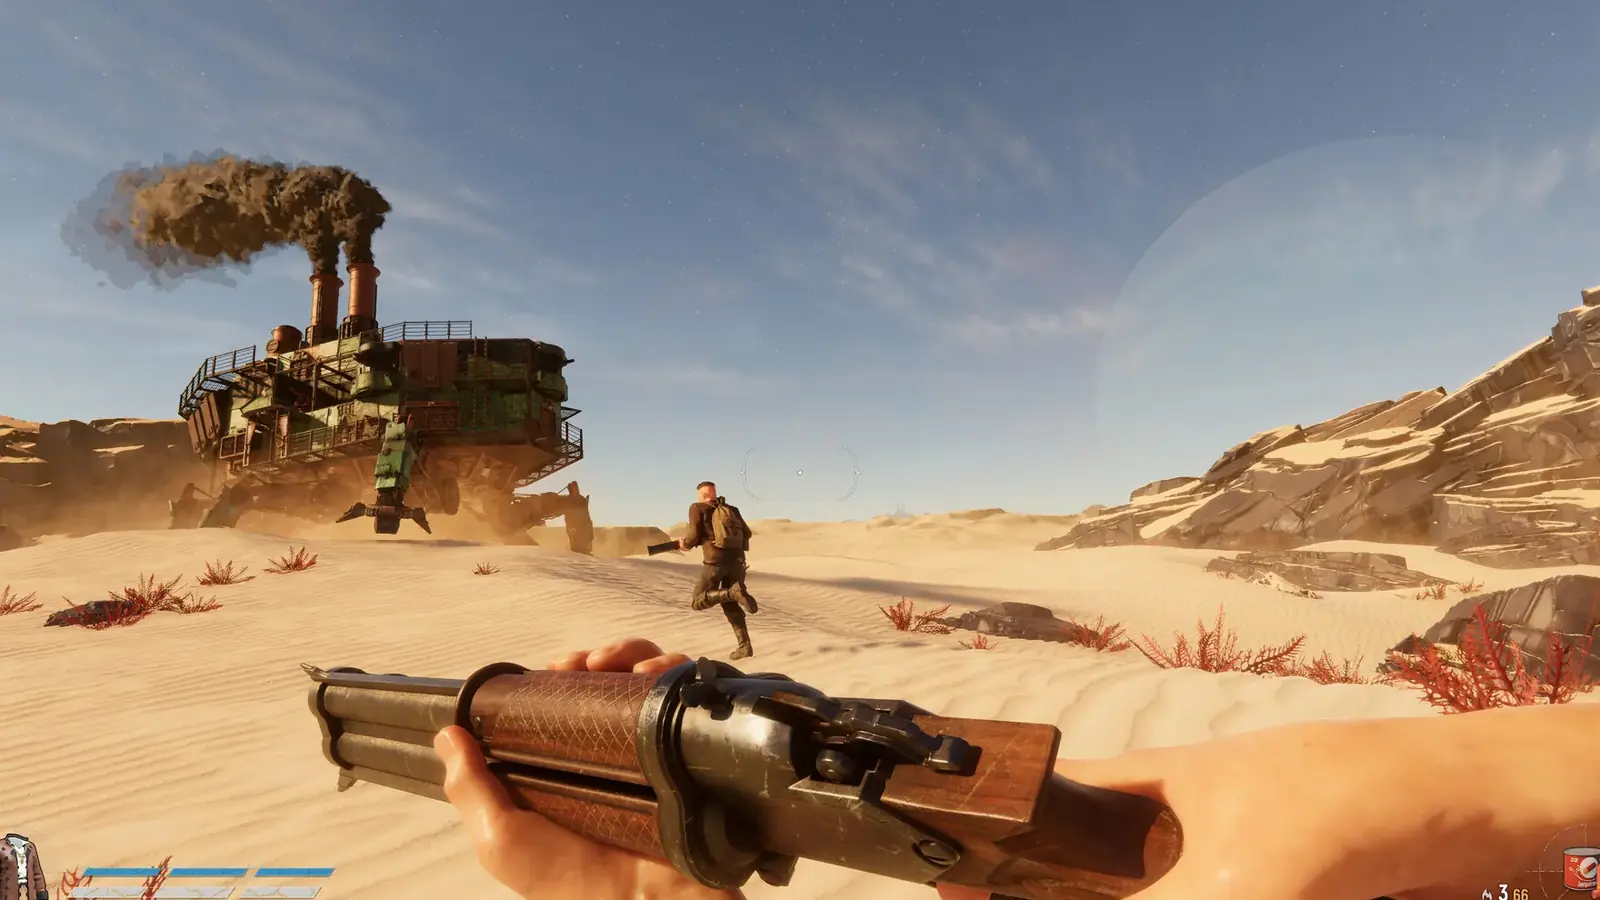
Quick answer: Start a SAND Trampler with a reachable entrance, pilot bridge, dependable power, enough engines to move the current weight, and a short internal path between crew stations. Add cargo and weapons only after the machine can turn, stop, repair and extract. If a module cannot be reached from the entrance or forces the crew through a single exposed choke point, the build is not finished even when the editor allows it to save.
What a Trampler actually needs to do
A Trampler is the shared machine at the center of SAND: Raiders of Sophie. It carries the crew across Sophie, holds recovered resources, supports mounted weapons and gives the raid a movable fallback position. That makes every design choice operational. Extra armor may protect one side but raise weight. More cargo increases profit potential but also creates a reason to stay too long. A powerful weapon is useful only when the crew can reach, supply and aim it without abandoning steering or repairs.
Treat the build as a route through tasks rather than a collection of impressive modules. A raider should be able to enter, reach the pilot position, move to a gun or repair point, check cargo and return to the exit without getting lost. Crew roles will change during a raid, so the interior must remain understandable when somebody is injured, outside looting or forced to take over a different station.
The best early Trampler is usually smaller and clearer than the machine players imagine. A compact frame exposes fewer angles, consumes fewer materials and makes damage easier to diagnose. Once the basic loop is reliable, expand one purpose at a time: range, hauling, firepower or crew comfort. Expanding every direction at once hides the reason a build has become slow or fragile.
A reliable first Trampler build order
The editor encourages experimentation, but a fixed dependency order prevents most unusable designs. Confirm each step before adding the next layer.
Place the core and define the floor plan
Begin with the smallest footprint that can support the crew's essential stations. Leave a clear center lane instead of packing every edge. The lane becomes valuable when two players need to cross during repairs or when somebody must retreat from an exposed deck.
Add an entrance and test reachability
Attach the entrance where a raider can approach it from normal ground and where the interior connection continues into the machine. Rotate the module if its active side faces the wrong direction. Before decorating or armoring, trace the route from outside to the pilot bridge and back.
Install steering, power and movement
The pilot station, energy supply and engine or leg requirements form one system. Watch the editor's movement, energy and weight feedback together. A machine that technically moves but has no margin will become unreliable after loot, damage or another module is added.
Create a repair and crew loop
Keep critical stations reachable without long detours. If possible, give the crew more than one way around the central structure so a damaged or occupied passage does not trap everyone on one side.
Add cargo, then one combat purpose
Cargo turns a working vehicle into an extraction machine. After that, choose one initial combat idea such as forward pressure, side defense or deterrence while retreating. Avoid covering every angle with heavy modules before the chassis has proven it can carry them.
How to put an entrance on a Karl Ludwig Trampler
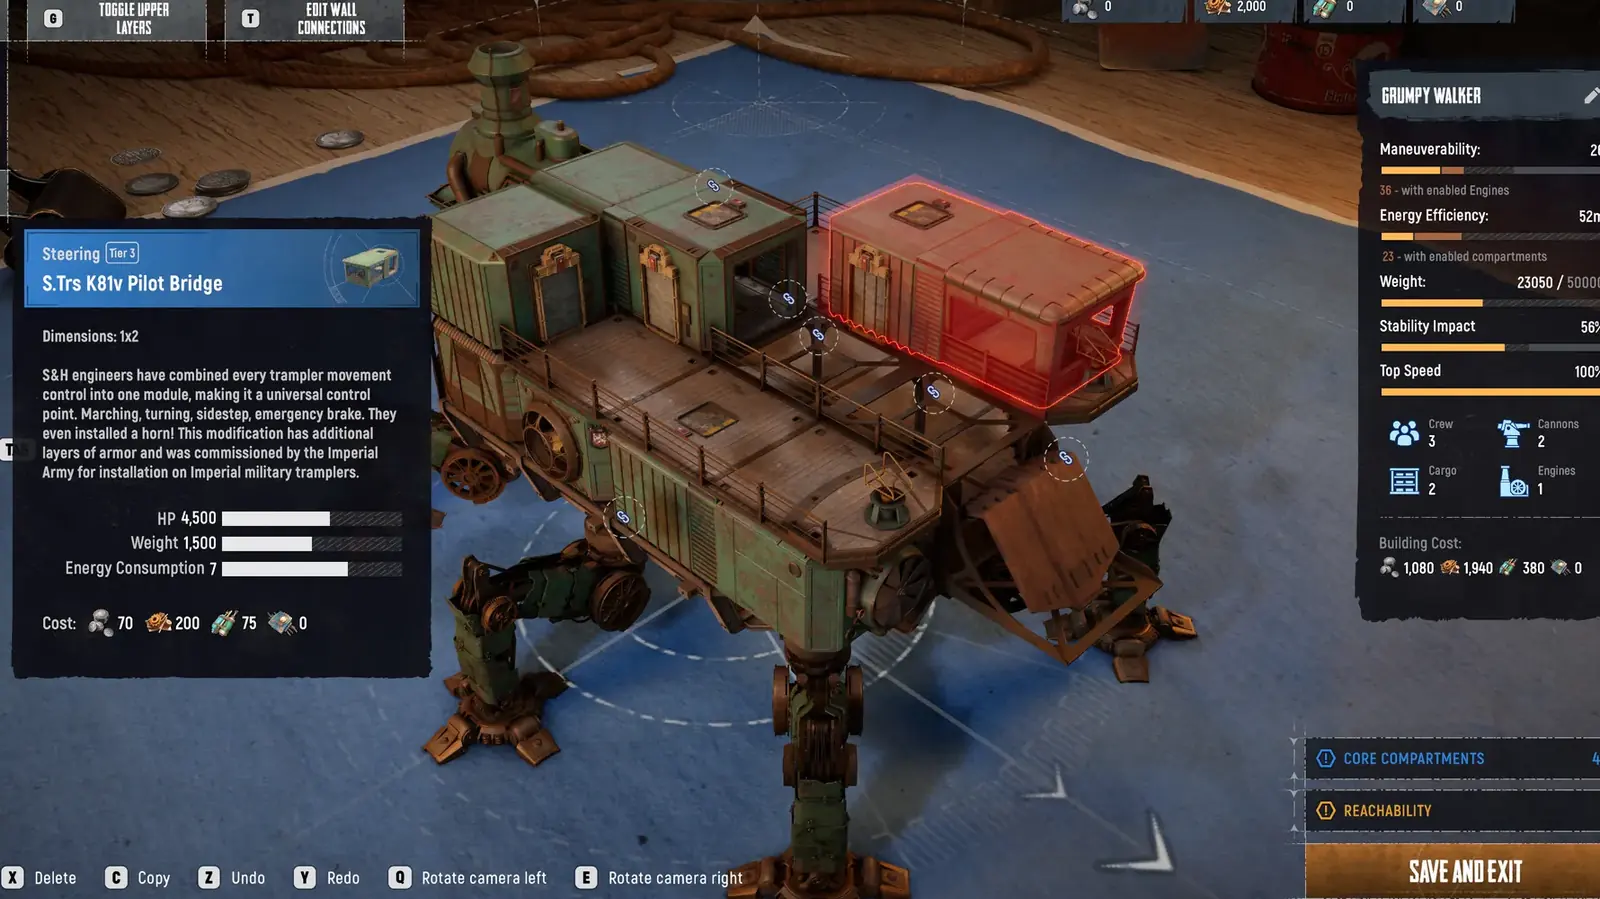
The long-tail question about the Karl Ludwig Trampler usually describes a reachability problem, not a missing cosmetic door. An entrance module must connect to a valid compartment face, point its usable side toward the exterior and lead into a continuous walkable path. A door that visually touches the machine can still fail if the connection node, height or rotation is wrong.
Temporarily remove nearby armor, railings or stacked modules while testing. Place the entrance on a simple outer wall, rotate it until the editor accepts the connection, and then inspect the route from the entrance to the core stations. If the warning remains, check the highlighted reachability layer rather than repeatedly adding more doors. A second entrance can improve escape options later, but it does not repair a broken internal connection.
After saving, test the machine from the player's point of view. Approach from uneven terrain, enter while another crew member stands nearby, and confirm that the door does not open into an immediate ladder, weapon mount or narrow corner. Editor validity is the minimum; practical access under pressure is the real standard.
- Connect the entrance to a compatible exterior compartment face.
- Rotate the module so the outside and inside faces are not reversed.
- Keep the first interior tile clear of weapons, railings and storage clutter.
- Use the reachability overlay to find the first disconnected compartment.
- Test entry from ground level before adding armor around the doorway.
Trampler controls are a crew workflow
Exact key prompts can change with input device or patch, so learn the station workflow shown by the current interface. The important control skill is handing tasks between players without leaving the machine blind or stationary at the wrong moment.
| Crew task | What to watch | Why it matters |
|---|---|---|
| Driving and turning | Terrain, stopping distance and an open exit heading | A Trampler loses fights when it enters a narrow lane it cannot reverse or turn out of. |
| Navigation | Home bearing, landmarks and the planned return line | The pilot has limited attention; another crew member should call route changes and threats. |
| Mounted weapons | Firing arc, ammunition, friendly exposure and target priority | A gun with a blocked arc adds weight without controlling space. |
| Repairs | Mobility, power and breached access routes before cosmetic damage | Restoring movement or a critical station is usually more valuable than repairing every damaged surface. |
| Cargo and extraction | Capacity trigger, valuable resources and departure timing | A full hold is not profit until the Trampler returns safely. |
Manage weight, energy and damage before they become emergencies
The editor's statistics are not decoration. Weight changes acceleration, turning and the margin available for recovered cargo. Energy use determines whether the machine can support the active systems the crew expects. Stability and access affect whether the vehicle remains usable after contact. Review the whole panel after every major module instead of waiting until the final build.
During a raid, use short inspection habits. Check mobility after a hard impact, listen for a change in machine behavior, and inspect critical connections before crossing open ground. When the Trampler begins to feel slower, do not assume the terrain is the only cause. Loot weight, damage or a disabled system may have changed the safe route home.
Repairs should follow mission value. Restore the ability to leave first, then the systems that protect the route, then optional comfort or extra firepower. If the repair cost consumes the resources needed for extraction, shorten the mission rather than trying to return the machine to perfect condition in a hostile area.
Mobility margin
Leave room for cargo and damage instead of tuning the build to the exact movement threshold in the editor.
Energy margin
Plan for the systems that may run together during escape, not only the quiet state in the workshop.
Repair priority
Protect movement, power, steering and crew access before optional armor panels or secondary weapons.
How to survive Trampler duels
Trampler combat is positioning before it is damage. A crew that sees the enemy first can choose whether to fight, hide, angle armor or leave. Do not drive directly toward another machine just because the mounted weapon has a target. Check whether the pilot still has a retreat line and whether the gunners can maintain their arcs during the turn.
Focus on systems that change the opponent's options. Pressure exposed weapons, movement components, access points or crew positions when they are visible, but avoid chasing a disabled-looking target into terrain that favors an ambush. The purpose of a duel is usually to protect the raid and extraction, not to spend every resource proving that the enemy can be destroyed.
Crew communication should be short and role-based: target direction, range change, damaged system, repair need and escape heading. If everybody reports everything they see, the pilot misses the one instruction that keeps the Trampler moving. Decide before contact who calls the retreat.
- Keep one exit heading open before the first shot.
- Turn the protected side toward the highest immediate threat.
- Do not let every crew member occupy a weapon when steering or repairs are unattended.
- Break contact when mobility, energy or crew access falls below the extraction margin.
- Change the return route after an enemy has identified your original line.
Common Trampler mistakes and practical fixes
Most bad builds fail because they solve workshop problems instead of raid problems. These corrections keep the machine understandable and recoverable.
Building too large too early
A wide, tall machine looks powerful but costs more, turns slowly and creates long internal travel paths.
Fix: Prove a compact core in real raids, then add one capability at a time.
One exposed entrance
A single door facing the expected enemy direction turns the entire crew route into a predictable choke point.
Fix: Angle the main entrance away from common approaches and consider a second escape after the core build works.
Weapons without usable arcs
Modules, railings or the Trampler body can block a gun during the exact turn where it is needed.
Fix: Test arcs against front, side and retreat targets before accepting the extra weight.
No cargo departure rule
Crews keep adding loot until the machine is slow, damaged and too valuable to risk, then leave too late.
Fix: Set a capacity or value trigger before departure and obey it unless the route becomes safer than expected.
SAND Trampler FAQ
What is a Trampler in SAND: Raiders of Sophie?
A Trampler is the crew's customizable walking mobile base. It combines transport, storage, stations, protection and mounted combat systems, so its layout directly affects navigation, extraction and survival.
What should I build first on a SAND Trampler?
Build a reachable entrance, a clear interior route, steering, dependable power and enough movement capacity for the current weight. Add cargo next, then one focused weapon role rather than many heavy systems.
Why can I not place an entrance on the Karl Ludwig Trampler?
The entrance may be rotated incorrectly, attached to an incompatible face, blocked at the first interior tile or disconnected from the walkable compartment network. Simplify the wall, rotate the module and use the reachability view to find the first broken connection.
Is a bigger Trampler always better?
No. Larger builds can carry more systems, but they require more materials, energy and crew travel time and may turn or repair poorly. Size is useful only when the added capability is worth those operating costs.
How do you win Trampler duels?
Keep mobility and an escape line, coordinate pilot, gunner and repair roles, and attack systems that reduce the enemy's options. Leaving with the crew and cargo is often a better win than pursuing a damaged opponent.
References and media sources
Game concepts and official screenshots were checked on July 16, 2026. Controls and balance may change during Early Access, so use the current in-game prompts when they differ from any guide.