Route planning guide
SAND Raiders of Sophie Map Guide: Landmarks, Loot Loops & Safe Routes
This SAND Raiders of Sophie map guide is a route-planning framework, not a promise of fixed coordinates. Mark one durable landmark, choose one loot objective, and preserve a low-exposure return line; map availability, mode rules and terrain details can change with Early Access updates.
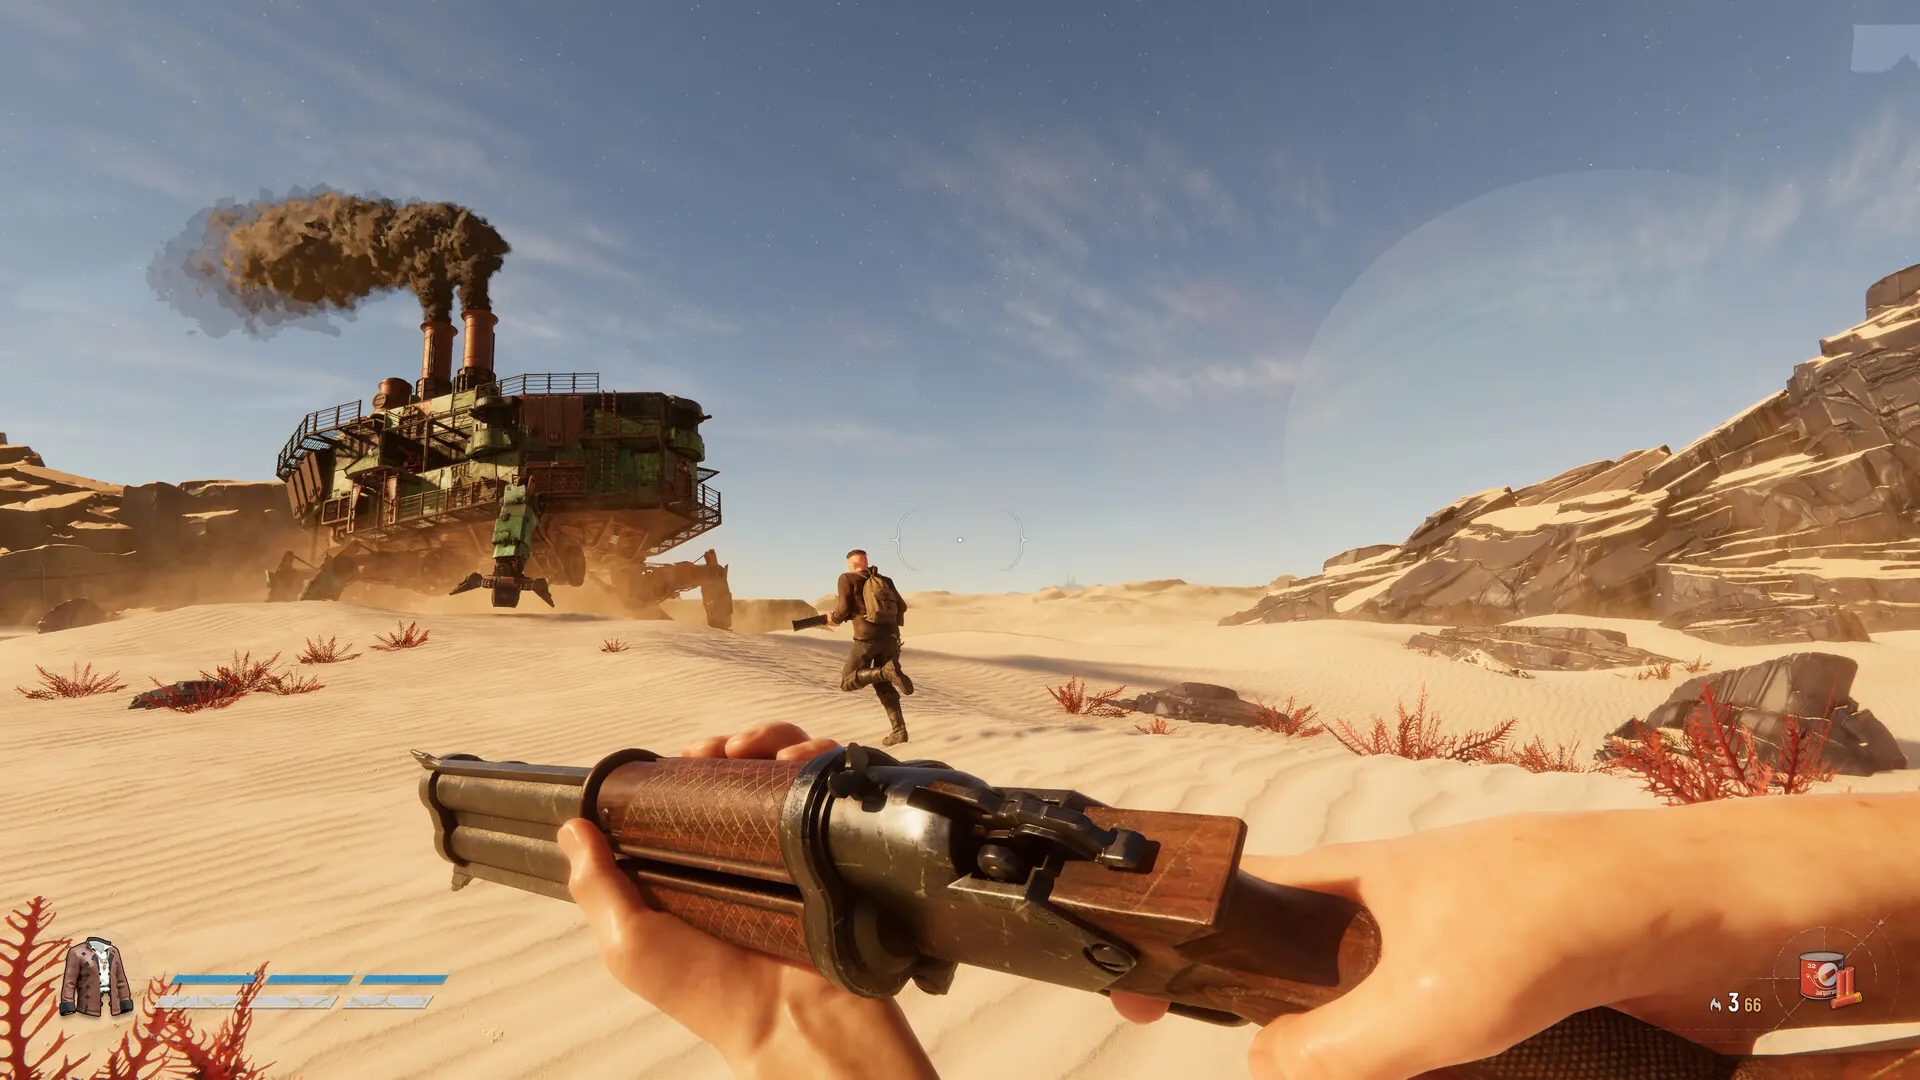
Quick answer: This SAND Raiders of Sophie map guide is a route-planning framework, not a promise of fixed coordinates. Mark one durable landmark, choose one loot objective, and preserve a low-exposure return line; map availability, mode rules and terrain details can change with Early Access updates.
How to read the SAND Raiders of Sophie map
SAND: Raiders of Sophie is a PvPvE extraction game built around large walking Trampler machines and contested desert travel. A map guide is therefore most useful as a decision system: where can you orient, where can you break line of sight, and how far can your machine safely travel after taking damage?
Exact loot density, threats and traversal details may change as the live game is updated. Use this page to plan adaptable routes rather than to assume every object or encounter will stay in a fixed position.
No stable official map count or numeric map size was confirmed in the sources reviewed for this guide. Read the SAND Raiders of Sophie map by landmarks, terrain, mode and the live objective instead of trusting an old coordinate list.
Four landmark types that keep a raid oriented
Name landmarks by function, not only appearance. A useful callout tells the crew what the terrain lets you do next.
Tall silhouettes
Rock spires, towers, cranes and large wreck profiles remain visible over dunes and help reset direction after a detour.
Use it to: anchor the outbound and return headings.
Ruins and shipwrecks
Dense structures can hold loot and conceal threats, but they also create chokepoints where a parked Trampler becomes predictable.
Use it to: set a short loot timer and a separate parking position.
Ridges and dune lines
Elevation blocks sightlines and can hide movement, while ridge crests expose players and machines to distant observers.
Use it to: travel below the crest and peek before crossing.
Smoke, fire and moving machines
Dynamic silhouettes reveal activity. They may indicate combat, an occupied loot area or a route that will soon be cut off.
Use it to: decide early whether to observe, flank or abandon the objective.
A safer five-step loot loop
Plan the return before the first container is opened. The loop below works better than chasing every nearby point of interest.
Mark a home bearing
Pick a landmark behind or beside the Trampler that remains recognizable when the approach looks different on the way back.
Choose one primary objective
Select the ruin, wreck or city edge that matches current storage, repair needs and crew risk tolerance.
Keep a shadow route
Identify a lower-exposure line using dunes, ridges or structures. It should not duplicate the fastest open-ground path.
Set a turnaround trigger
Leave when storage reaches the agreed threshold, repairs become expensive, visibility worsens or hostile activity blocks the next leg.
Return before the machine is trapped
A profitable raid still fails if the crew reaches a damaged Trampler with no safe direction to move.
Map signals and the correct route response
| Signal | Likely risk | Route action |
|---|---|---|
| Fresh gunfire near the objective | Another crew is active and may watch exits. | Wait from cover, rotate to a secondary objective or approach from a different elevation. |
| Trampler silhouette crossing your return line | Your original corridor may become a duel lane. | Move the return bearing before looting deeper. |
| Open basin with no hard cover | Fast travel but poor recovery if spotted. | Cross once, at an angle, after checking both ridges. |
| Storage nearly full | More loot increases loss severity and slows decisions. | End the loop instead of adding an unplanned stop. |
| Damage affects movement or repair reserve | The map has effectively become larger and more dangerous. | Shorten the route and preserve parts for the return. |
Match the Trampler build to the route
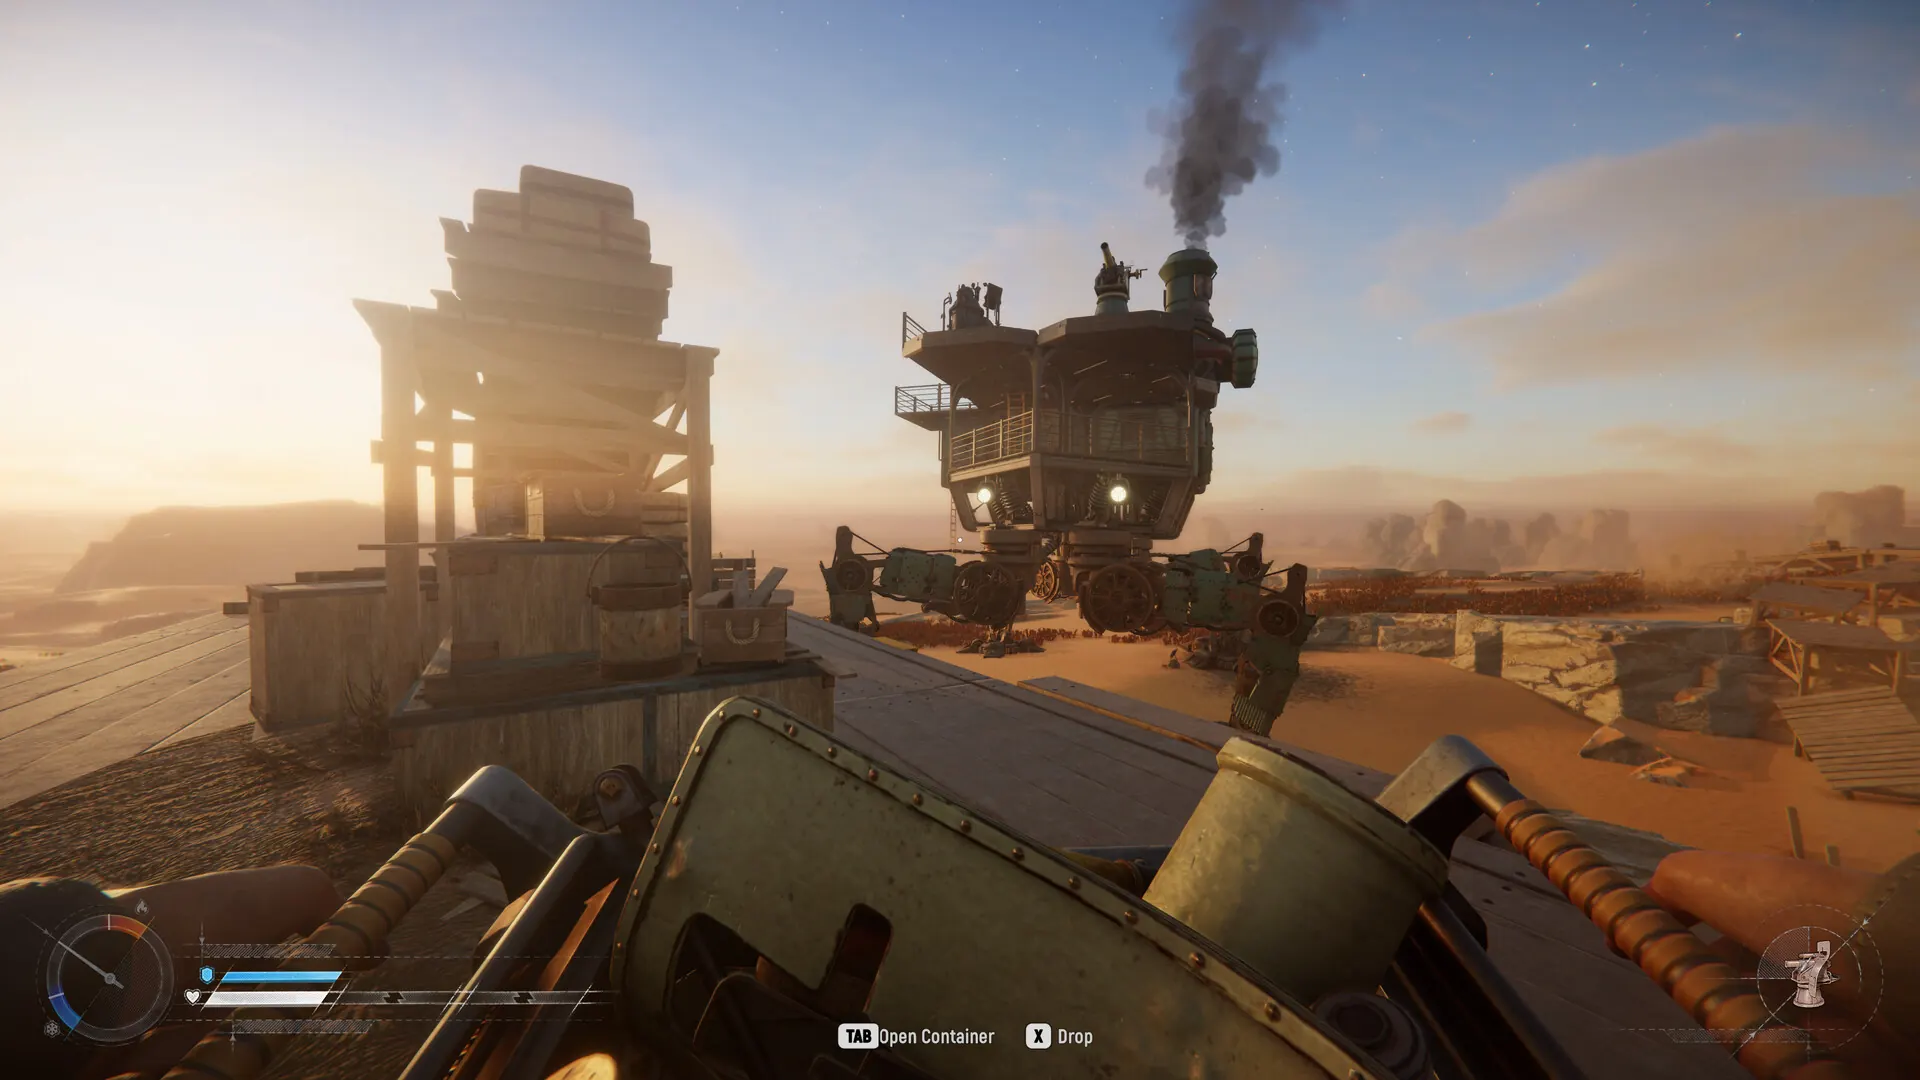
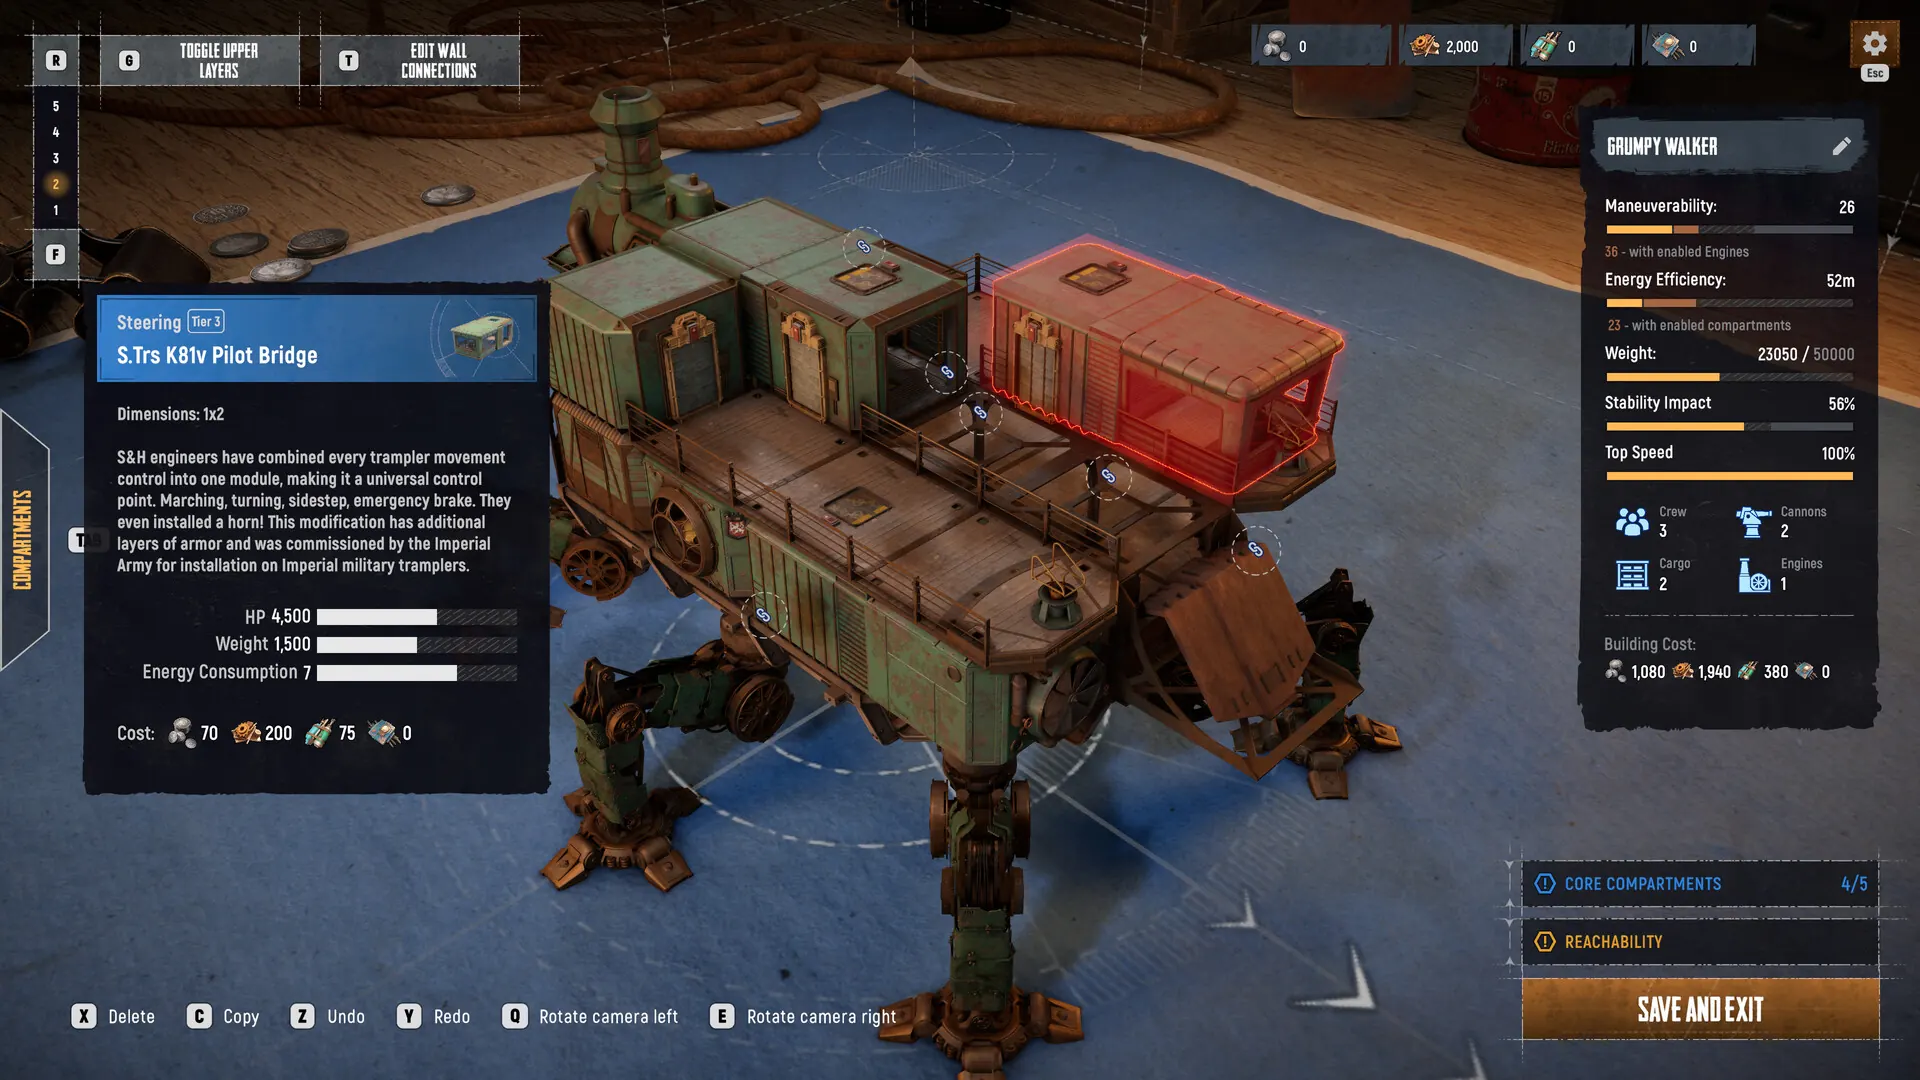
The best route depends on the machine that must complete it. A heavy storage build can justify a short industrial loop, while a mobile build can scout wider but should not assume it can win every engagement.
Before departure, assign one person to navigation and one to watch the machine during looting. Solo players should shorten every stop because they cannot observe both the interior and the surrounding desert at once.
Mobility route
Prioritize turning room, ridge access and multiple escape headings.
Hauling route
Prefer fewer stops, safer parking and a strict capacity trigger.
Combat route
Use sightlines and cover that let mounted weapons engage without pinning the machine.
When the map turns into a combat problem
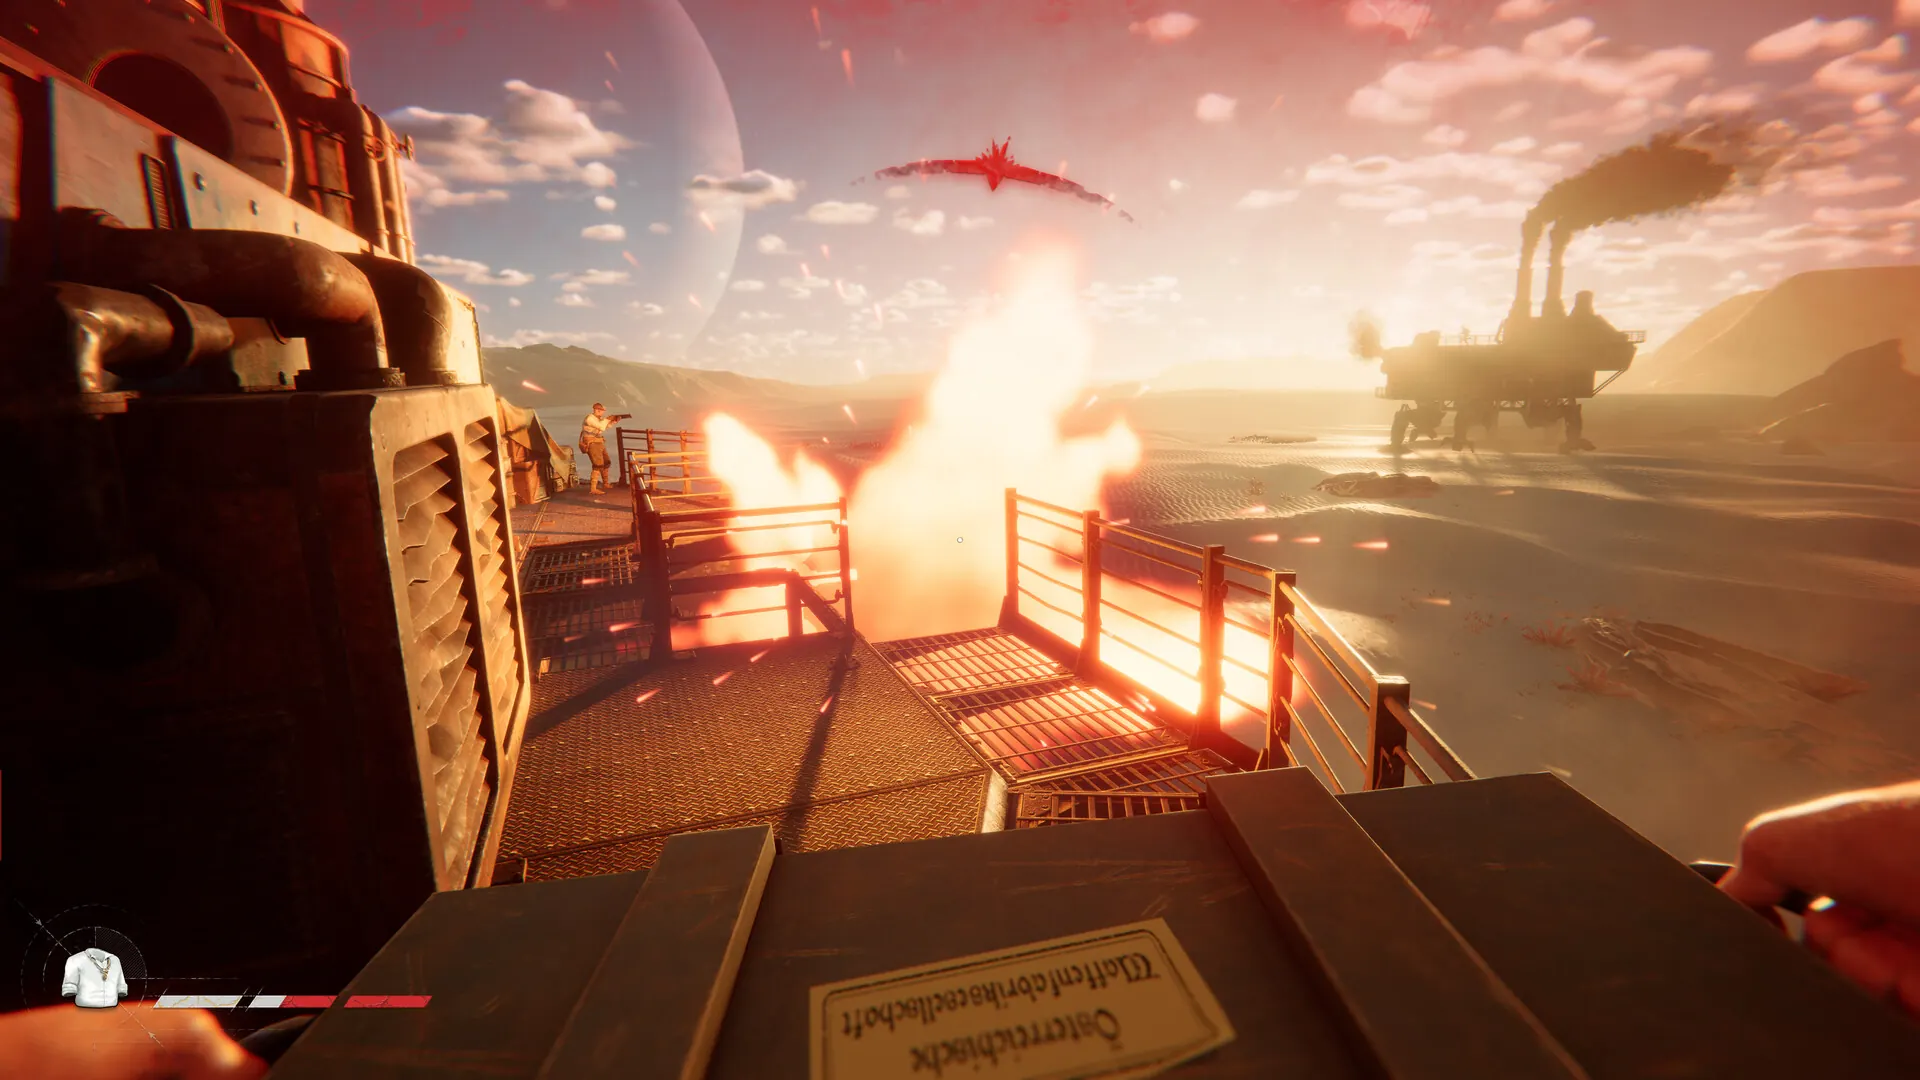
Do not let a landmark become a trap. The moment another crew controls the only obvious approach, the task changes from navigation to survival. Reassess cover, machine angle, crew position and the cost of leaving.
A strong route plan creates options before contact. If the only available decision is to drive straight through hostile fire, the earlier route selection was too narrow.
- Keep the Trampler facing a usable exit instead of parking nose-first into ruins.
- Avoid placing every crew member inside the same loot structure.
- Use a different return line when an enemy has seen the outbound route.
- Extract with partial profit when repair capacity or information is low.
SAND Raiders of Sophie map FAQ
Is there an official interactive SAND Raiders of Sophie map?
The official Steam and game channels are the safest sources for current game information. This page does not claim to be an official interactive map; it provides a route framework that remains useful when layouts or encounters change.
What is the best route for beginners?
Use one nearby landmark, one loot objective and one covered return line. Beginners should avoid long chains of stops until they can recognize threats and estimate the Trampler return cost.
Should I park the Trampler beside the loot location?
Usually not directly beside the most obvious entrance. Park where the machine has turning room, partial concealment and at least two possible departure headings.
How do I avoid getting lost after looting?
Take a home bearing before entering, name a tall landmark, and check the return direction at each major turn. Do not rely on remembering the approach from the opposite angle.
Does this guide include fixed loot coordinates?
No. Fixed coordinates can become inaccurate after updates and may encourage routes that ignore live threats. The guide focuses on landmark recognition, route loops and risk decisions.
How big is the SAND Raiders of Sophie map?
The sources reviewed for this guide do not confirm a stable numeric map size. In practice, judge the map by travel exposure, landmark visibility, Trampler movement and the distance you can safely return after looting.
How many maps does SAND Raiders of Sophie have?
Do not rely on a permanent map-count claim. Map availability and mode rules can change during Early Access, so confirm the current build and objective before planning a route around one remembered layout.
Why does opening the SAND Raiders of Sophie map freeze the game?
First separate a local UI hang from a server or build issue: wait briefly, avoid repeated inputs, relaunch if needed, and compare the current build with official update notes. This guide cannot confirm one universal fix for every map-view freeze.
Official references
Game details and screenshots were checked against first-party sources on July 13, 2026.